Building Our Ark
Part 2:
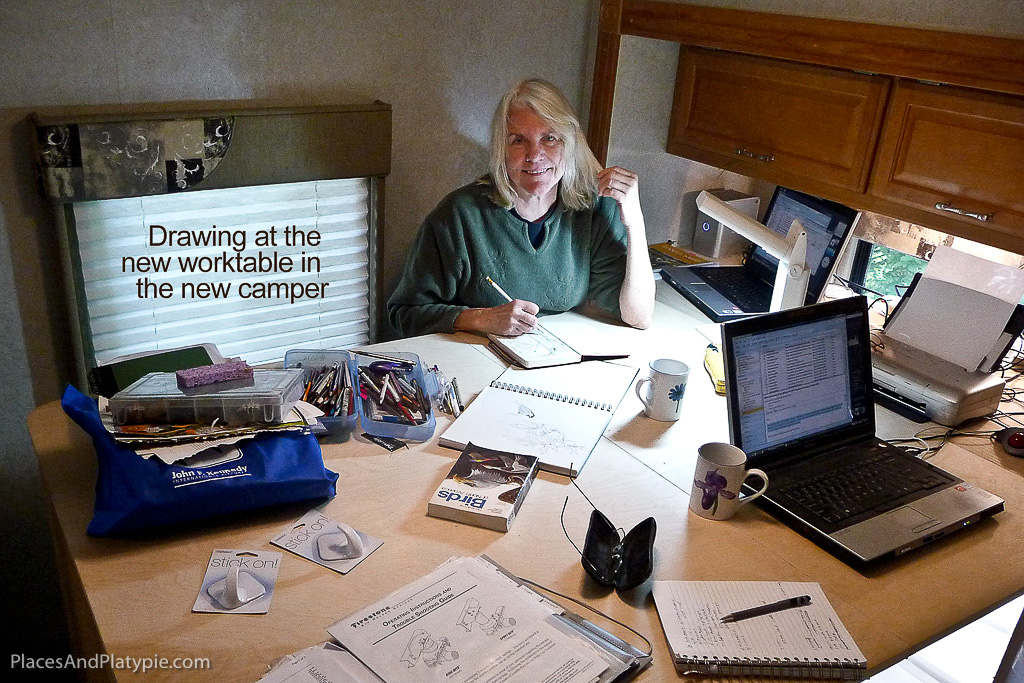
Converting the Back Bedroom into Our Workroom
Our previous camper was only 22' long so the ONLY permanent bed was over the front cab. However, in our particular lifestyle, there are real benefits to sleeping in that location:
- The dog(s) don't climb on the bed with you
- It's warmer near the ceiling at night (Fall, Winter and Spring benefit)
- Making the bed is an easy stand-up task
- When in bed, it feels like you are in a different room
- Most importantly, in our full time RV, it frees up the whole back bedroom for our workspace.
When the kids were grown and gone, we found ourselves moving several times into diverse situations - into our remaining office/warehouse building near the Pentagon after selling our company, to Peg's parents' house for a year when her father needed extra care, into the basement apartment in our rented out townhouse and finally into four different apartments on the Upper West Side of Manhattan - the last one for ten years…. We ALWAYS re-created the same overlapping living spaces and spent all of our time, in all those situations, easily and well.
|
|
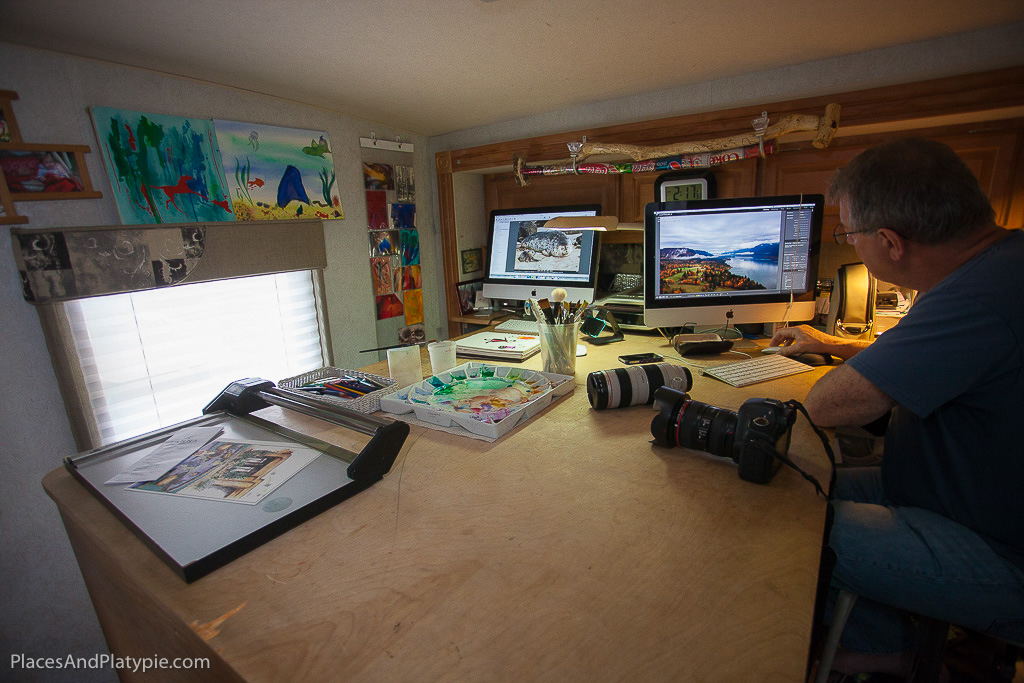
Our current setup with big computers, etc. |
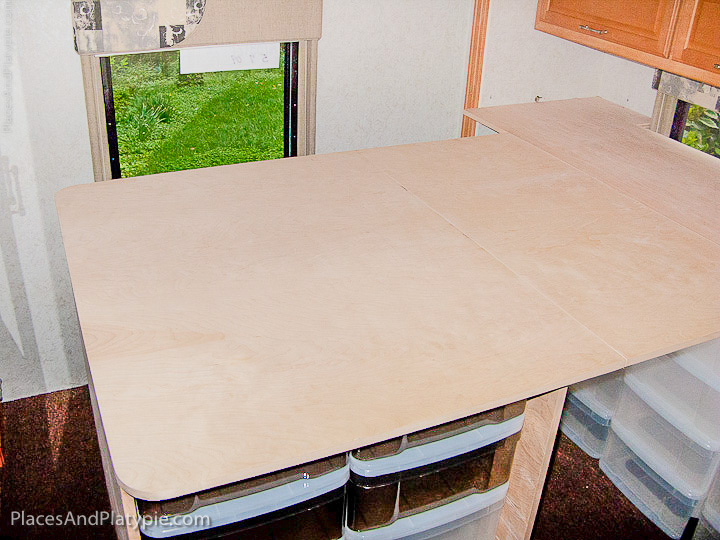
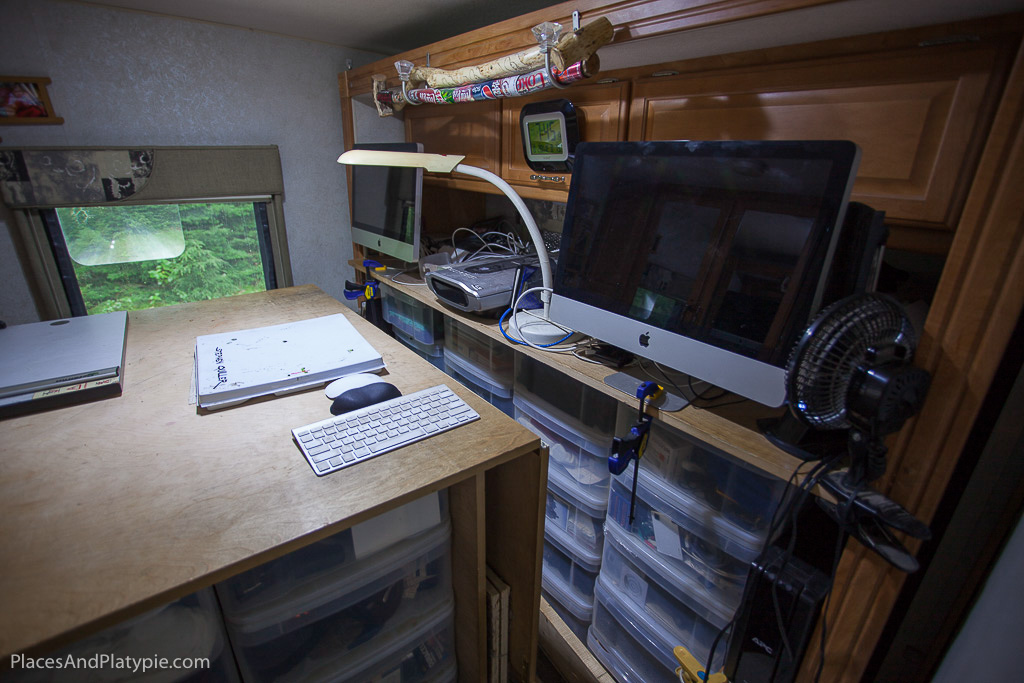
As you can see, there is plenty of room and wiring for two full sized iMac computers, wireless printer, scanner, many shared hard drives, network routers, switches, UPS*, etc. on the 'T' portion of the worktable that is built into the slide out. When in transit, we simply put a carpenter's clamp on each computer's base, close the slide out, and the worktable joins at the drop-leaf hinge to become a smaller 'T'.
 |
 |
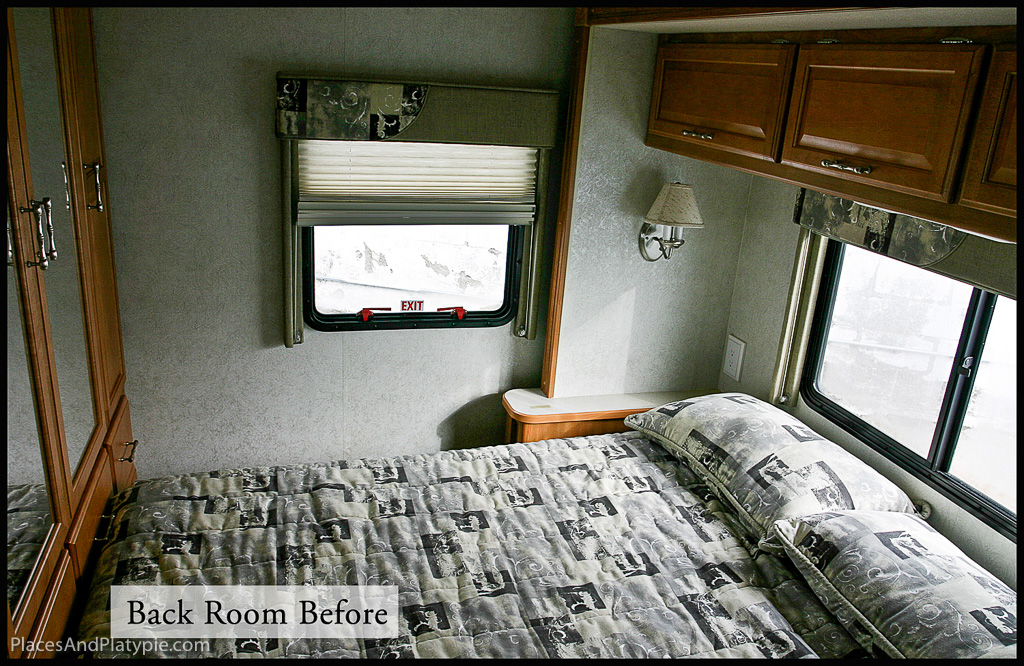
Original condition of back bedroom with slideout closed |
The finished T with drop leaves opened and slide-out out. |
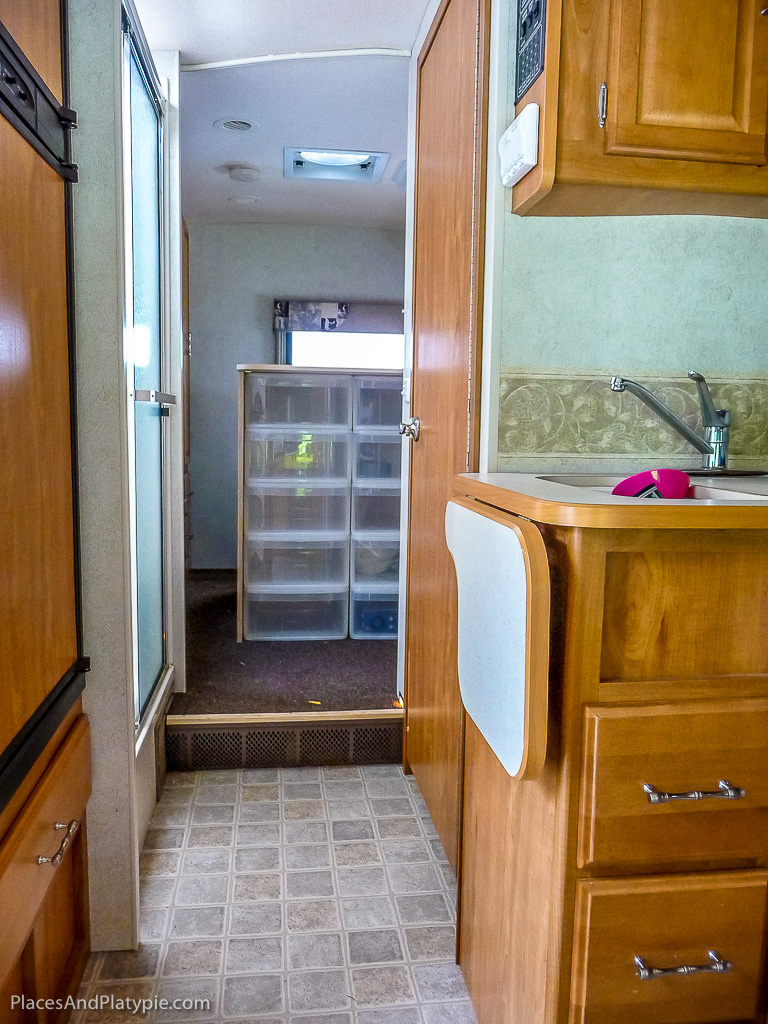
Above is the original back bedroom (with slide-out closed) in our RV and the finished expandable workroom with 40 plastic drawers and a drop-leaf countertop extension and fold-down floor section shown with the slide-out extended.
|
|
The little 'T' with the slideout closed for driving opens quickly to become the big "T" for full use and legroom. |
As you can see, there is plenty of room and wiring for two full sized iMac computers, wireless printer, scanner, many shared hard drives, network routers, switches, UPS*, etc. on the 'T' portion of the worktable that is built into the slide out. When in transit, we simply put a carpenter's clamp on each computer's base, close the slide out, and the worktable joins at the drop-leaf hinge to become a smaller 'T'.
When opened up, we can sit on either side and turn the computers to any comfortable angle and the dog(s) can walk through. When closed up, we sit facing the slide out but the walk space around the table is a dead end for the dogs. That's a confusing one for a puppy to learn!
The steps to figuring and rebuilding the work room were as follows:
 |
Try everything for size - the counter will go on top and the light will be removed. |
 |
Check and check and czech! |
1) Remove the bed and side fixtures.
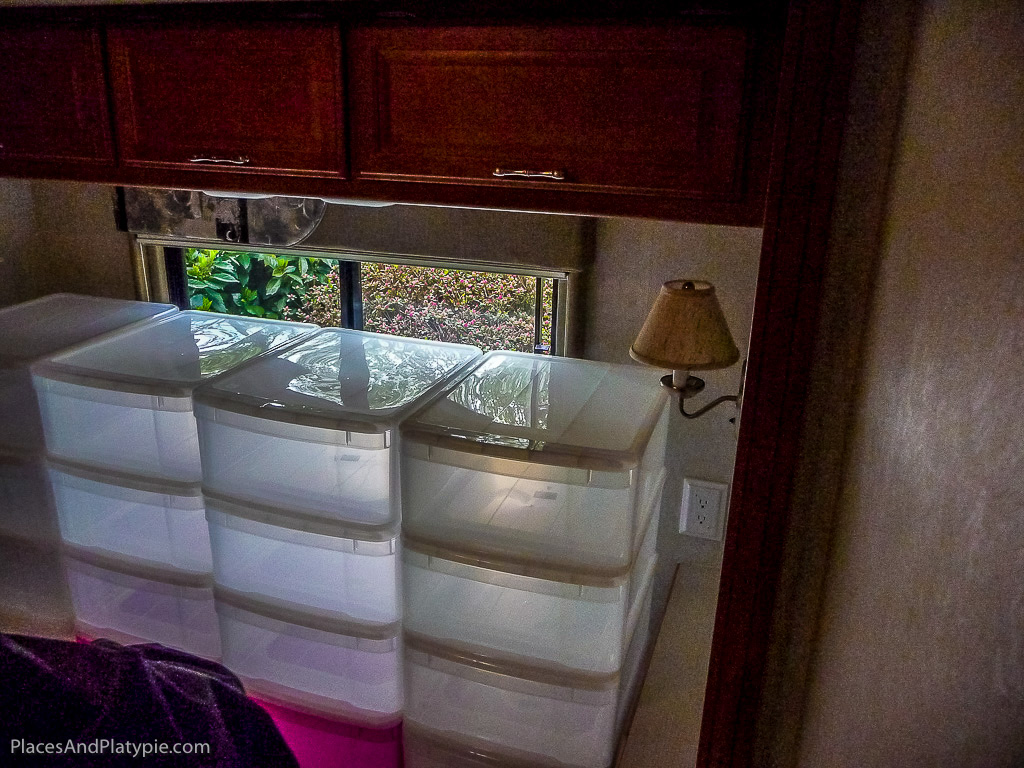
This is the easiest part - just start taking the bed and surrounding fixtures apart until you can't go any more. A visit to the Container Store will be useful to pick your drawers.
Your countertop will be on top of the drawer sections, and equipment on top of that, so any side fixtures have to go. Just twist wire nuts onto the cut wires and tuck them back into the wall.
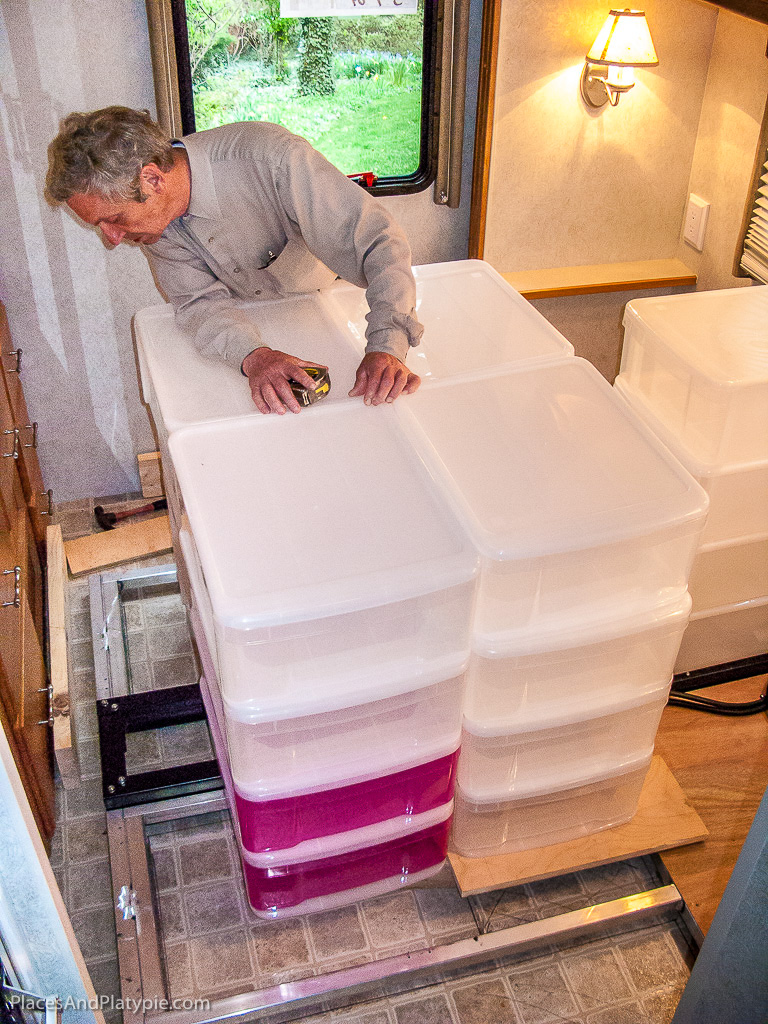
2) Figure the minimum space around the table you will be comfortable with and what drawers fit under the island.
Remember, the countertop will overlap the edges of your drawers and the walls supporting the table top will be just outside the drawer sections.
Option: We wanted drawers in every available space, but if you didn't have a slide-out, you could leave 2 columns of drawers out as a place for your knees!
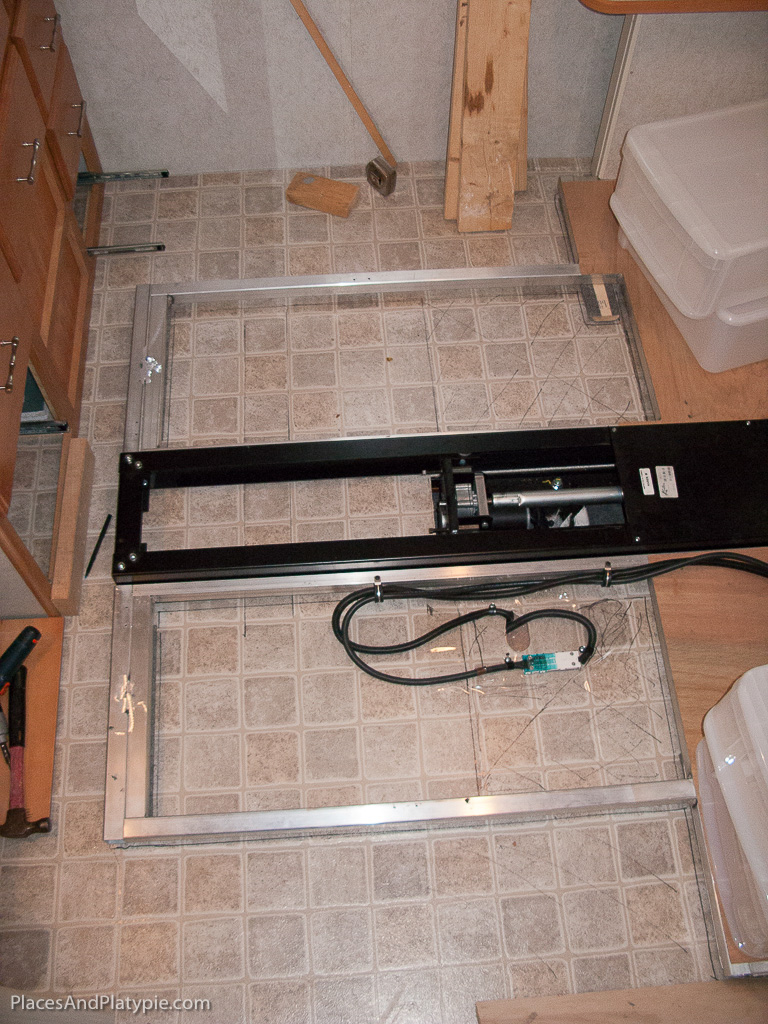
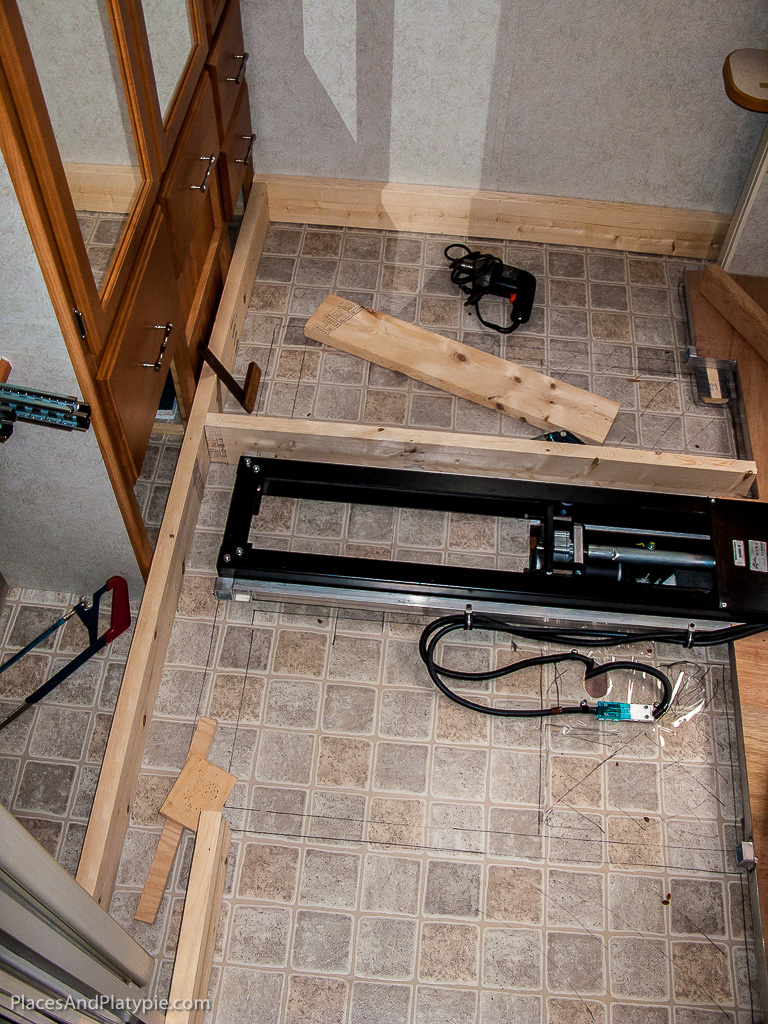
3) Cut off the aluminum outrigger pieces that carry the bed on the slide out mechanism.
Otherwise half the room is pushing through where your floor support framing needs to be.
 |
 |
The aluminum pieces are to hold the bed - cut them off! |
|
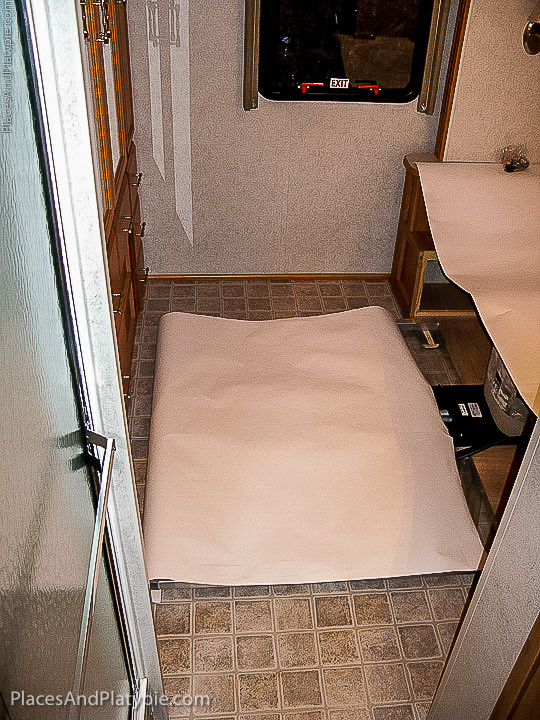
4) On the slide out, measure a countertop depth that will come out about 3 inches into the room and cut out a piece of paper as a template - like a sewing pattern.
Do the same for the main tabletop and see how the space feels. Adjust the sizes accordingly.
 |
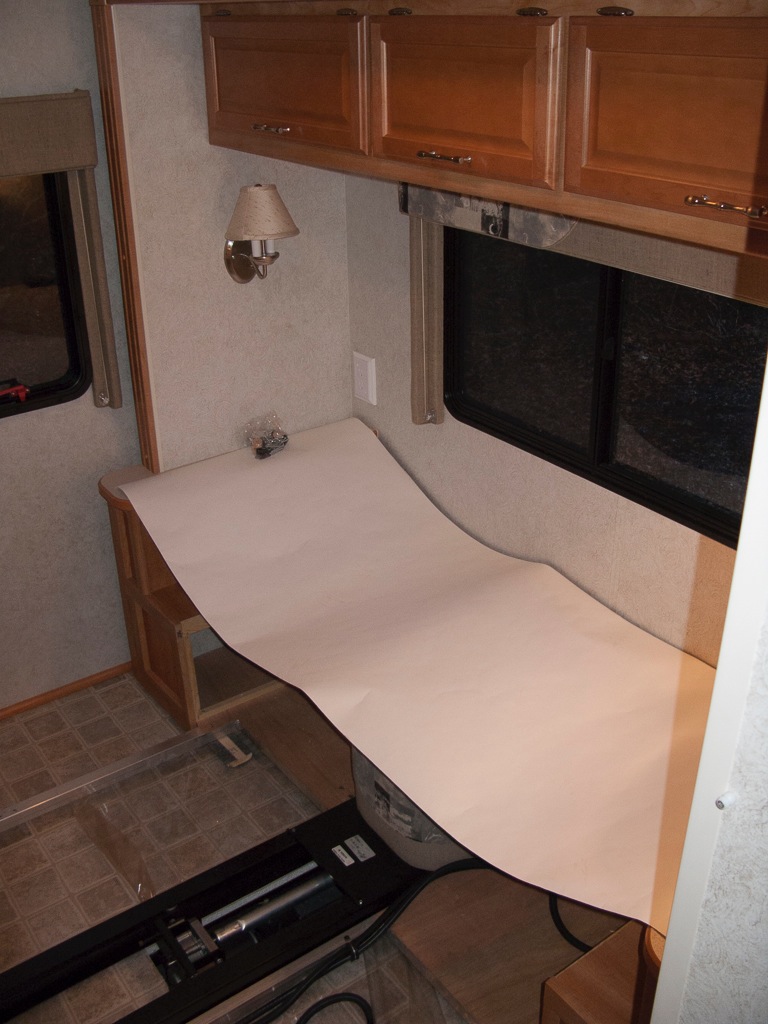 |
Use paper like a sewing pattern to get the area sizes right. |
|
Remember, the tabletop will be far above the floor - at your waist!
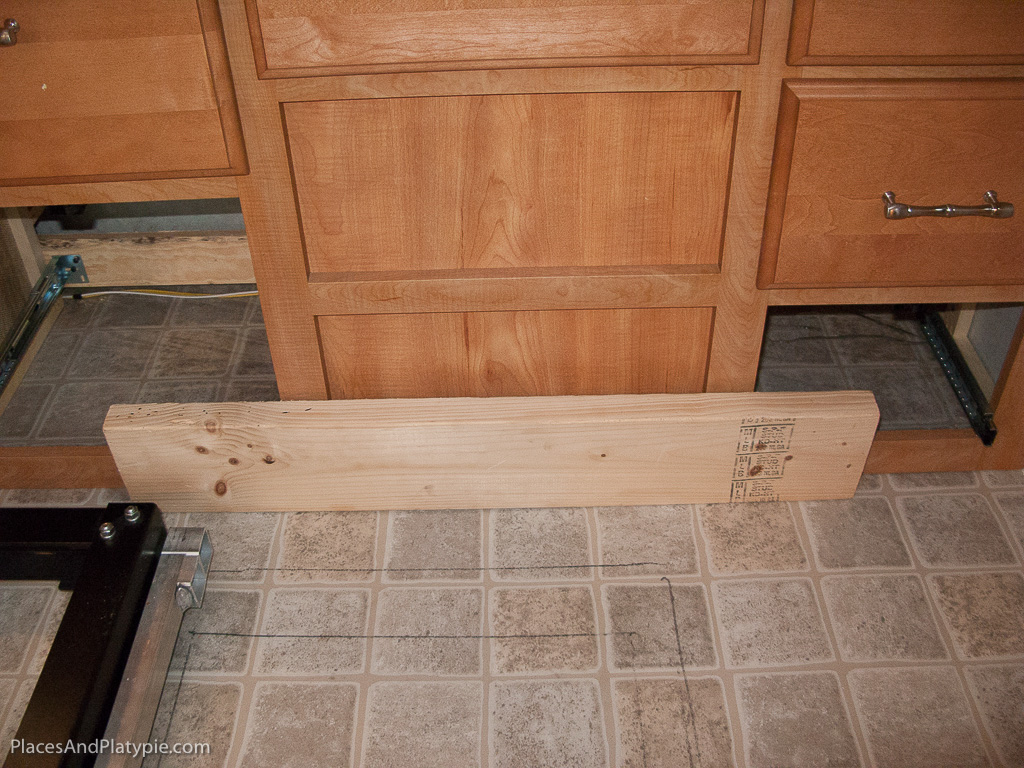 |
The floor supports will eliminate some bottom drawers - Make false fronts of the drawer fronts. |
5) Start framing so the slide out will run under the floor.
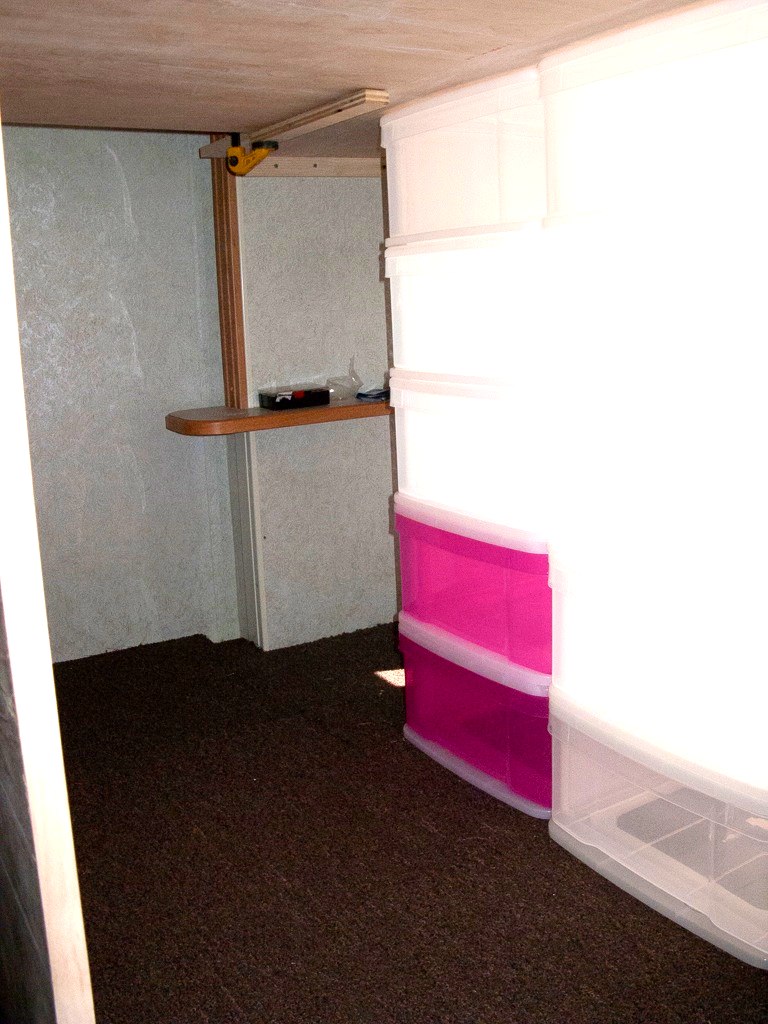
Some bottom drawers below the built-in closet may end up covered, so remove their drawer handles if they stick out. We took the front off of the lower left bottom drawer and made it a removable, false front. We now use the space for storage (bags of out-of-season clothes).
 |
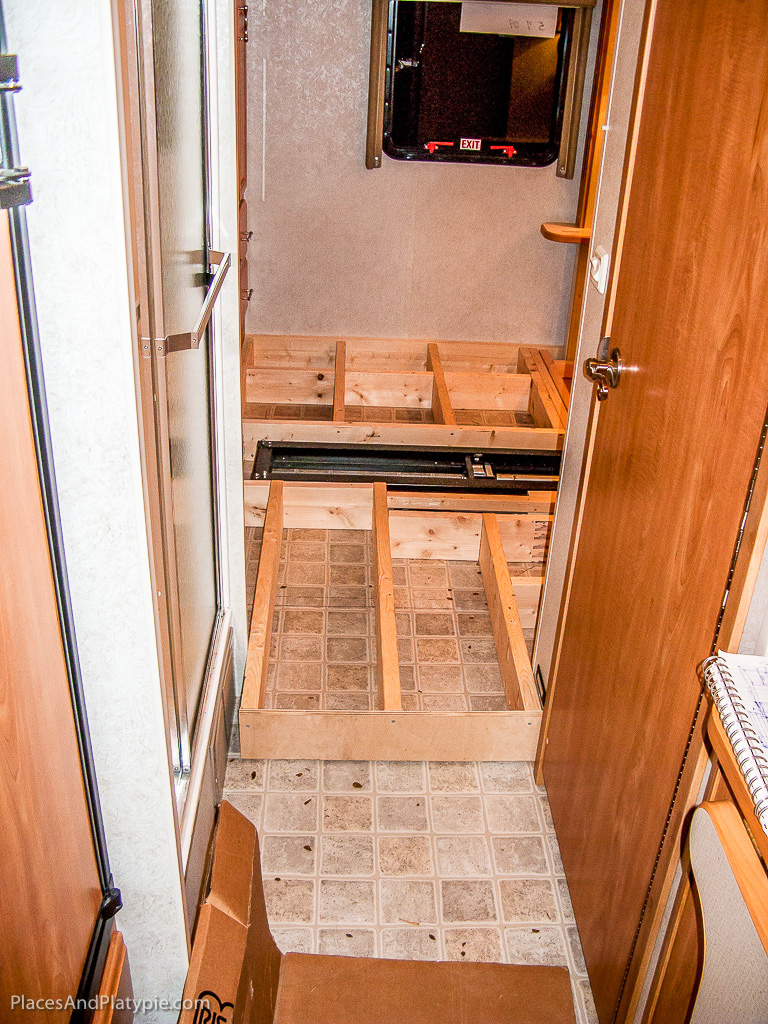 |
Draw the positions for the floor joists first then put them in (slideout in CLOSED position)
|
|
 |
||
Once the floor is right, the countertop can be built right on it. |
||
|
6) Put in the floors, level them, then cut and fit the 3 tabletop pieces: The main tabletop, the drop-leaf, and the countertop on the slide out
By this time, we have a firm base and can cut and fit the 3 tabletop pieces to each other on the new floor - at least horizontally. Add a long piano hinge the length of the drop leaf.
7) Build and install the under-table structure
Both the drop-leaf top counter and the floor over the gap that appears when the slide out is open need to be attached by long piano hinges. The wings (pictured), also use piano hinges so the drop-floor can be folded under the drop-leaf within the width of the tabletop.
The slide out countertop is supported by simple upright panels of plywood between drawer sections and attached by elbow brackets all over. Let the countertop float for now.
The main table support will have to withstand the forces of driving; turning and braking. A big H shape fits the bill, with the cross-panel left to right across the vehicle. Only 3 panels make up the H, and later each needs to be elbow bracketed to each other and the floor and to the tabletop. First, we need to shim each support for a flat, level tabletop. Last we tighten all screws.
 |
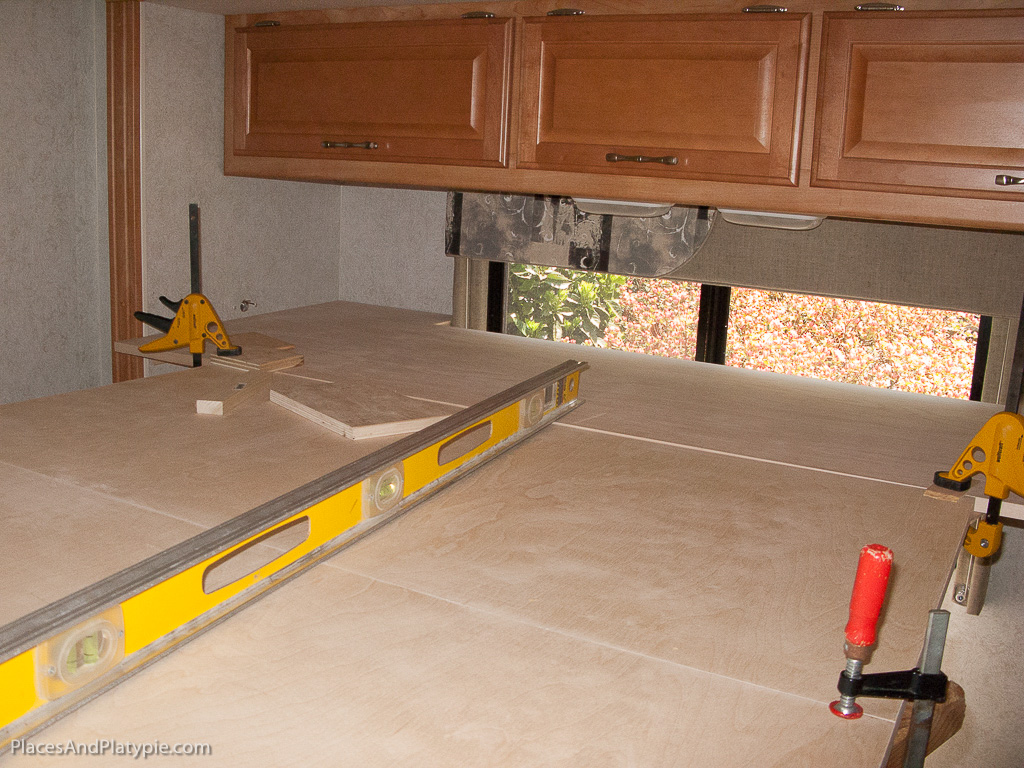 |
The H-shape under the counter and around the plastic drawers to withstand braking and turning. |
Clamp the pieces in place while you attach them permanently.
|
 |
(click to enlarge) |
Clamping all three tabletop pieces makes it possible to adjust the height and angle on all the supports using shims to achieve a level, flat surface before attaching everything permanently.
Once shimmed, glue and screw under-counter support strips to the slide-out walls and screw the counter above into them.
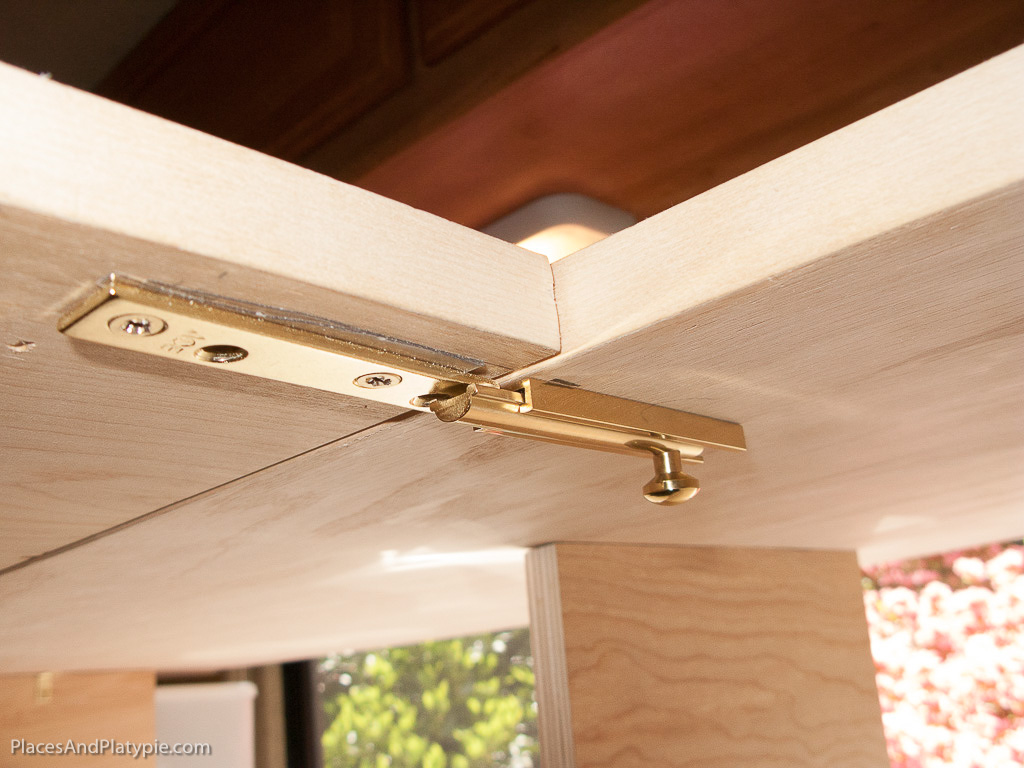
Hasps are attached to the underside of the 'T' and the drop-leaf to hold the drop-leaf up when it is deployed.
 |
 |
Hasps with plastic spacers to make the joint perfect. |
With the back floor higher, the curtain door had to be trimmed. |
We used plastic strips as spacers under the hasp pieces to make a perfect joint above.
Afterthought! You need to cut the bottoms off any curtains or doors into the back room! Not so hard…..
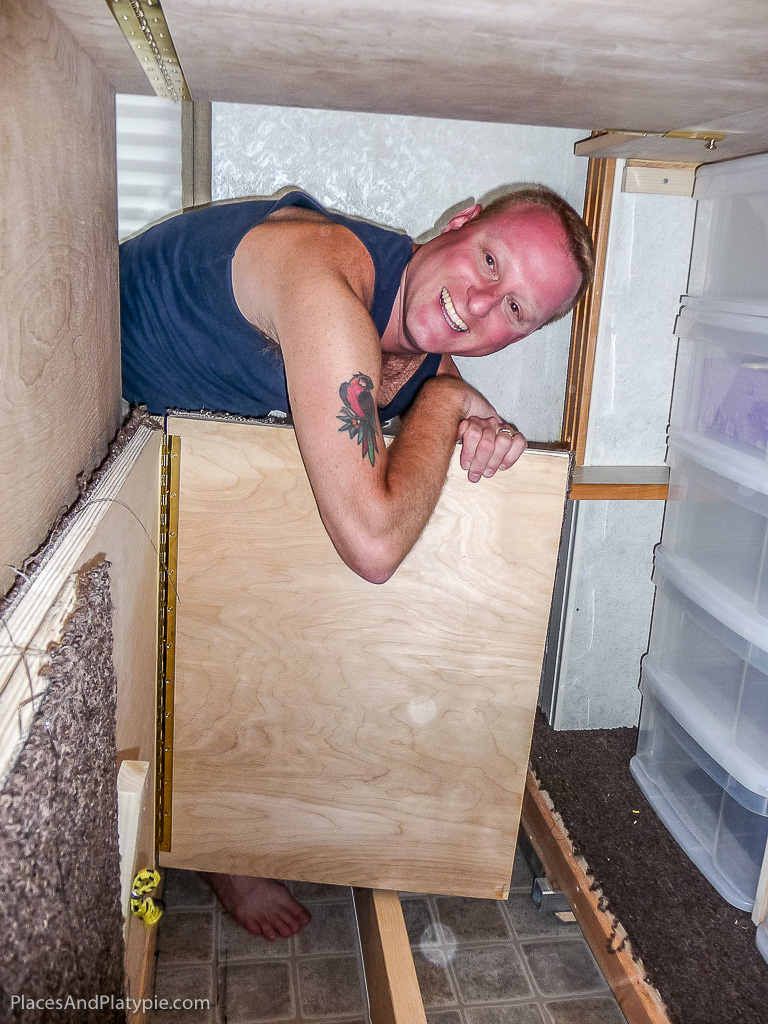
8) Install carpet, trim, test, adjust and repeat!
 |
 |
Staple down carpet to the new plywood floor... |
View from the front. |
 |
|
Pretty AND Perfect! |
|
Our Workroom table is now as much a center of our lives as it has ever been.
*UPS stands for Uninterruptible Power Supply, a device with a high performance battery that keeps critical computers and components going when regular power fails - at least long enough to shut them down properly.
I've always admired your outstanding ability to maximize space in whatever place you lived. I've said this before--you need to write a book about this experience--and this blog should be sponsored by the camper company, gasoline companies, tire companies, etc.!
Melissa C
How much did you pay the cute showroom model?
Jon C.
Pretty cool!
Ryan F.
